Subscription forms can be included in your website or blog so the visitors can provide their data to receive emails about topics of relevance and/or interest. Fundamentally, a subscription form is designed to register subscribers to your mailing list.
Why this is important
Subscription forms are a legal and convenient way for subscribers to provide you their information. The process of creating and setting them up is very straightforward. One of the great advantages of email marketing is that it allows you to target groups based on various criteria. By adding some of these criteria to your subscribe form, you can personalize your emails. As a general rule of thumb, however, requesting too much information may lead to less interest in subscribing. You’ll need to start by creating a form that’s tailored to your needs.
How to integrate a subscription form
Using our system, you can integrate an opt-in form for a specific contact list directly into your website.
You can obtain the form for your list by following these steps:
1. Select the Forms tab.
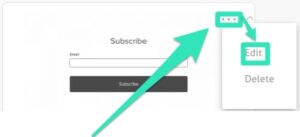
2. Click ‘…’ on the top right end of the Subscription form and then select Edit.
3. You will have the option to either use a direct link to the form, or grab the HTML code to embed on your site.
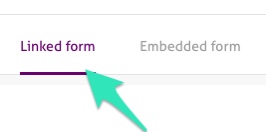
- Linked form
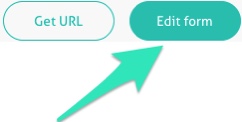
- It will give you the direct link to the form by clicking Get URL.
- You can customize your form by clicking Edit form.
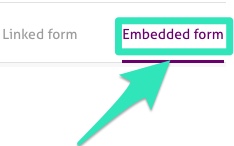
- Embedded form
- It will give you the code to embed on your website by selecting Get code.
- Feel free to customize your form by clicking Edit form.
Edit your form
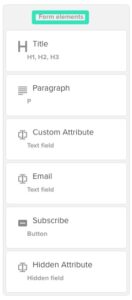
The following form elements are available in your editor:
- Title with six different H sizes
- In a paragraph, describe the type of communication that will be sent. Communication on a weekly or monthly basis, for example. Sign-up codes, promo codes, etc.
- Custom attribute: An attribute that can be customized
- Email (mandatory and by default)
- Subscription button (mandatory and by default)
- Hidden attribute in cases where you want a segment populated by default
- You can select these elements to customize them. It is important to avoid asking for the wrong information: you don’t want your customers to find it overwhelming, so they simply stop subscribing. Three or four fields should suffice.
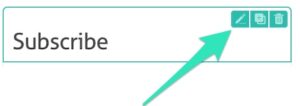
- Click on the pencil icon to edit an element.
- Click on the double square with a plus sign to duplicate an element.
- Click the Trashcan icon to delete an element.
Your subscription form is ready
Use it to build your precious list and continue to generate leads for your account’s growth. The data you assemble will provide a source of new prospects for your organization, allowing it to continue expanding. Additionally, If you have any personalized fields on your list, they will be added to the form.


